Finishing the Top Braces

Last night and this morning I took the time to finish the top braces. First masking off the top so that I wouldn’t sand it inadvertently while sanding the braces.IMG_2253

You can see the difference of finish sanding them with the two braces side-by-side.

IMG_2255IMG_2256

Then more sanding and more sanding and yet even more sanding – all of the braces start to take shape.

IMG_2257IMG_2258IMG_2254 IMG_2252

Then just continue sanding all of the braces to the point that I was satisfied that the chisel marks were gone and the curves on the scalloping and overall looked the way that I wanted them to.

IMG_2261 IMG_2265 IMG_2263 IMG_2264 IMG_2259

Here you can see that I added a few more small braces around the sound hole. This was because of the earlier fact I spoke about of sanding the top too thin during the thickness sanding episodes I went through.  I am not too thrilled about the way it looks (non-traditional), but I will make it work to protect the integrity of the top.IMG_2262 IMG_2260

Turnbuckles still haven’t arrived so I will now concentrate on shaping the back braces today and tonight.

#ESQguitars, #luthier, #guitars, #guitar_maker

Time to catch up on things….

I have been kind of busy and haven’t had the chance to update this blog the last few days, so here is my update for those who care.

I did glue up the back braces as can be seen in the picture.

Image

I also used my router table (what a life saver) to route the channels for the truss rod and the carbon fiber pieces. I felt like I need these to help provide some strength to the neck since I am using Spanish Cypress on a steel string. I am just hoping that it is not too stiff.

image-8Image

I then cut the channel for the rosette and glue it in. I believe that my fear of thinning the top too much came true when cutting this channel and trying to scrap the rosette even with the top. I must have been applying too much pressure and heard a few strains of the wood. Yup the top cracked in a few places. So I used some thin super glue and hopefully it will be alright.

Image

And as you can see from the above photo I also cut out the sound hole. Yup and more cracks with more super glue being used.

So I immediately glued in the sound hole reinforcements.

Image

Once this was done I started to carve the top braces; putting the fine touches to the scalloping as seen below.

Image

Image

Next up – finish the carving of the top and back braces then sand them smooth.

I haven’t done the sides yet because I am still waiting for the turnbuckles that will be used for the spreaders within the mold.

Bandsaw issues sort of resolved

Yesterday I decided to look online again to see what I could find in reference to the blade not fitting into the band saw with the riser piece installed. I came across Grizzly’s (maker of the saw-go figure) website that included “how to” videos. Wow what a concept. And guess what there was one on how to tension the blade. So I found out that I didn’t have to remove both the top and bottom set screws, but only the bottom needed to be removed in order to move the tensioning bar so that the wheel can move down further. This allowed the blade to just slip on.

So I got the blade on and “tuned up” the machine by adjusted the upper and lower guide bearings for the blade. Everything was good now for the band saw. I made several practice cuts and then promptly cut the scallops on my top braces. I got all of them, except the two upper support braces, glued to the top last night.

20140205-075107.jpg

20140205-075120.jpg

Tonight I went ahead and cut the top braces and glued them to the top.20140205-075132.jpg

20140205-075142.jpg

20140205-075151.jpg

I also rough cut the bridge.

20140205-075201.jpg

Tomorrow night I will glue the braces to the back using the 15′ radius dish and maybe start working on bending the sides. I have been waiting for the turnbuckles to arrive so I can finish my spreaders before this, but it is going on almost 2-weeks since I ordered them. Don’t want to wait any longer to use the bending iron. I am not really patient when there is something I really want to do.

Band Saw Issues and Headstock Logo Inlay Cut-out

This is an update for what has been done this weekend. Saturday I picked up the new band saw and started putting it together. I added the 6″ riser to the unit and then couldn’t get the new 105″ saw blade onto the fly wheels. After trying to loosen the tensioning device as far as it could go I still couldn’t get it on. It is about 1/2″ short. So of course I start Googleing for a solution and all of them didn’t work. Then I find the answer after a few hours of looking…ther are two set screws that need to be loosened up on the tension bar and then it can be adjusted properly.Well you would think that any of the three allen wrenches (hex wrench)would work on the small set screws. Nope they didn’t, so I try the several dozen that I have. No good and now it seems that I have striped the screws or at least one of them. I tried everything that I had to get the top one out , to the point where I super glued a wrench to the screw first, then super glued a nail..but none of this worked. So I ended up ordering a easy out kit that should be arriving this week. I also ordered two new set screws (and wouldn’t you know that they are two different sizes) to replace the ones I messed up and they should also be arriving this week.

Well here is the picture of the band saw anyway. Image

Then yesterday, before the super bowl, I went ahead and cut out the ESQ headstock logo out of abalone shell. I am getting better at this as I do more and more. I actually only broke off a little bit of the S while doing it this time and was able to super glue it back together. The black you see in the picture is the paper template to cut around and will be sanded off once it’s inlayed into the headstock.Image

I will start practicing on routing the ESQ channels on some spare pieces of wood I have so I can get a tight fit for the logo. It helps that I can take my time on these efforts on ESQ #2 in order to get it as close to how I truly want it to look.

Labels and Logos

Tonight I started working on the abalone shell ESQ logo for the headstock and the soundhole labels. The headstock logo takes a lot of patience to cut out, but I am getting better. Finished with the “E” and “S” then the dust collector sucked up the “S”. Will redo the “S” and start the “Q” tomorrow maybe. Getting the band saw in the morning so may be busy putting that together and cleaning up the room for the weekend.Imagesoundhole label


X-Brace

IMG_2214Worked on glueing-up the x-bracing onto the top of ESQ #2. Once the glue was set I tapped the top and it clearly sounds musical. I am not an expert on tap tuning, yet, but I can really hear a full “bong” from each tap that even now the top has sustain. This redwood top is thinned down a lot. If you read my previous post you will understand that I had trouble thicknessing the top due to not having the proper tool. Once I got the drum sander I had to take a lot off to fix the issues I made from using the hand tools. I believe that I will be very happy with the results anyway. May have to look at reinforcing it a bit more, but will wait until I really need to.

Finally made arraignments to pick up the band saw on Saturday. This will allow me to complete the shaping of the braces and rough cut the neck so I can start carving the neck. Also picked up the second conveyor belt that I back ordered for the drum sander from Woodcraft. I am not so impressed by the quality of this belt for the price. It was double the price of the one I got from 2Sand.com. I will order all my sanding products from this local Maryland company going forward.

#esquireguitars, #guitar, #luthier

ESQ #2 Guitar Build

Trying to catch up on posting the Esquire Guitar’s second build. This guitar will have the following:

– redwood top
– Oregon myrtle back and sides
– Spanish cedar neck
– 25.4 scale

20140129-234852.jpg

I started building the neck back in early December and started my journal on Dec 29th.

Dec 29th – planned and sanded joined sides of the back. This was a difficult task by hand. Tried a shooting board and it wasn’t working well. Tried sanding on a flat surface and still got a concave finish. Finally planned small areas that were touching – not allowing the rest of the surface to join. It kind of worked.

Dec 30th – finished the go-bar deck finally. Started this a week ago and didn’t have the right t-nuts. Got them from Fastnell and picked-up another 2’x2′ board from Home Depot that I messed up 🙂 also got four pipes (1″) to go over the all-thread (3/8″) for more support. All worked great together. Also working on guitar mold. Figured out a way to cut the curve with the drill press and coping saw. Bought a regular hand saw today and it helped cut down the molds. Sanded one side the other day. Just need to sand the other three. Will cut the spacers next.

Took a break for the New Years holiday.

Jan 2nd – sanded other three mold pieces using the orbital sander. Big mistake doing this inside with just the small old vacuum. Dust went everywhere – literally throughout the house. Tried to quickly dust, vacuum, swifter, etc. the bedroom and living room. I will need to continue dusting throughout the weekend probably to ensure all dust is gone. Will need to invest in a good dust collector, but in the meantime all sanding will need to be done outside!! Not sure if I like the mold so far. I quickly checked to see if the mold pieces are good with the templet and at first glance I may need to add about an inch filler piece to top and bottom. Will recheck tonight.

Jan 3rd – one half of mold is done, but the pieces around the sides are too short. They seem to be staying for the most part due to the glue on one side. May need to fix later.

20140129-235116.jpg

Jan 4th – bought bench from Harbor Freight and for what it cost (cheap) it is a good bench. Put it together in about 1 1/2 hours and already using it. Glued back and top halves after truing them up a little. Had to put the stripe down the back due to me taking too much wood trying to true the two sides of the back. Also glued the neck block. Tried to use the coping saw to trim up the heel and can’t seem to cut straight in any direction. Need a band saw !!

.

20140129-235312.jpg

Jan 7th – completed OM guitar mold – cut out all the spines for the second side and glued them to the top and bottom. Finished using the coping saw to trim the front of heel.

Jan 8th – working on neck to measure and draw final size onto the wood. Need to look closer at the tongue and groove or bolt on part. Bolt on will be used!!

Jan 9th – ordered a shop vac for delivery tomorrow so I can continue working and not throw too much dust into the air of the house.

Jan 10th – shop vac came and set-up. Cut the tenon on the heel – looks better to me now. Started thickness sanding back and top – wasn’t working too well with make shift sanding jig. Started to plane the top and bottom and was working alright. A lot f work – redwood was easy – myrtle a little tougher with the grain.

Jan 11th – called Benson Fine Woodworking and left message to see if they have thicknessing service. Received email that Jon does not provide this service anymore.

Jan 12th – called Woodcraft to see if they could provide the service. The person I talked to said they don’t, but he does on his own. Left him my name and number and awaiting his call. Worked on sharpening the scraper and used it to thin out the head a little. Glued on both veneers to the head.

Woodcraft guy never called back.

Trying to figure out if I want to stay with the normal head design of Martin or Taylor or Gibson o r make my own???

20140129-211709.jpg

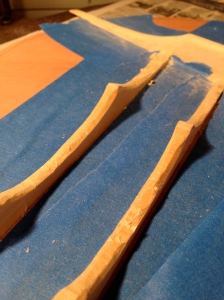
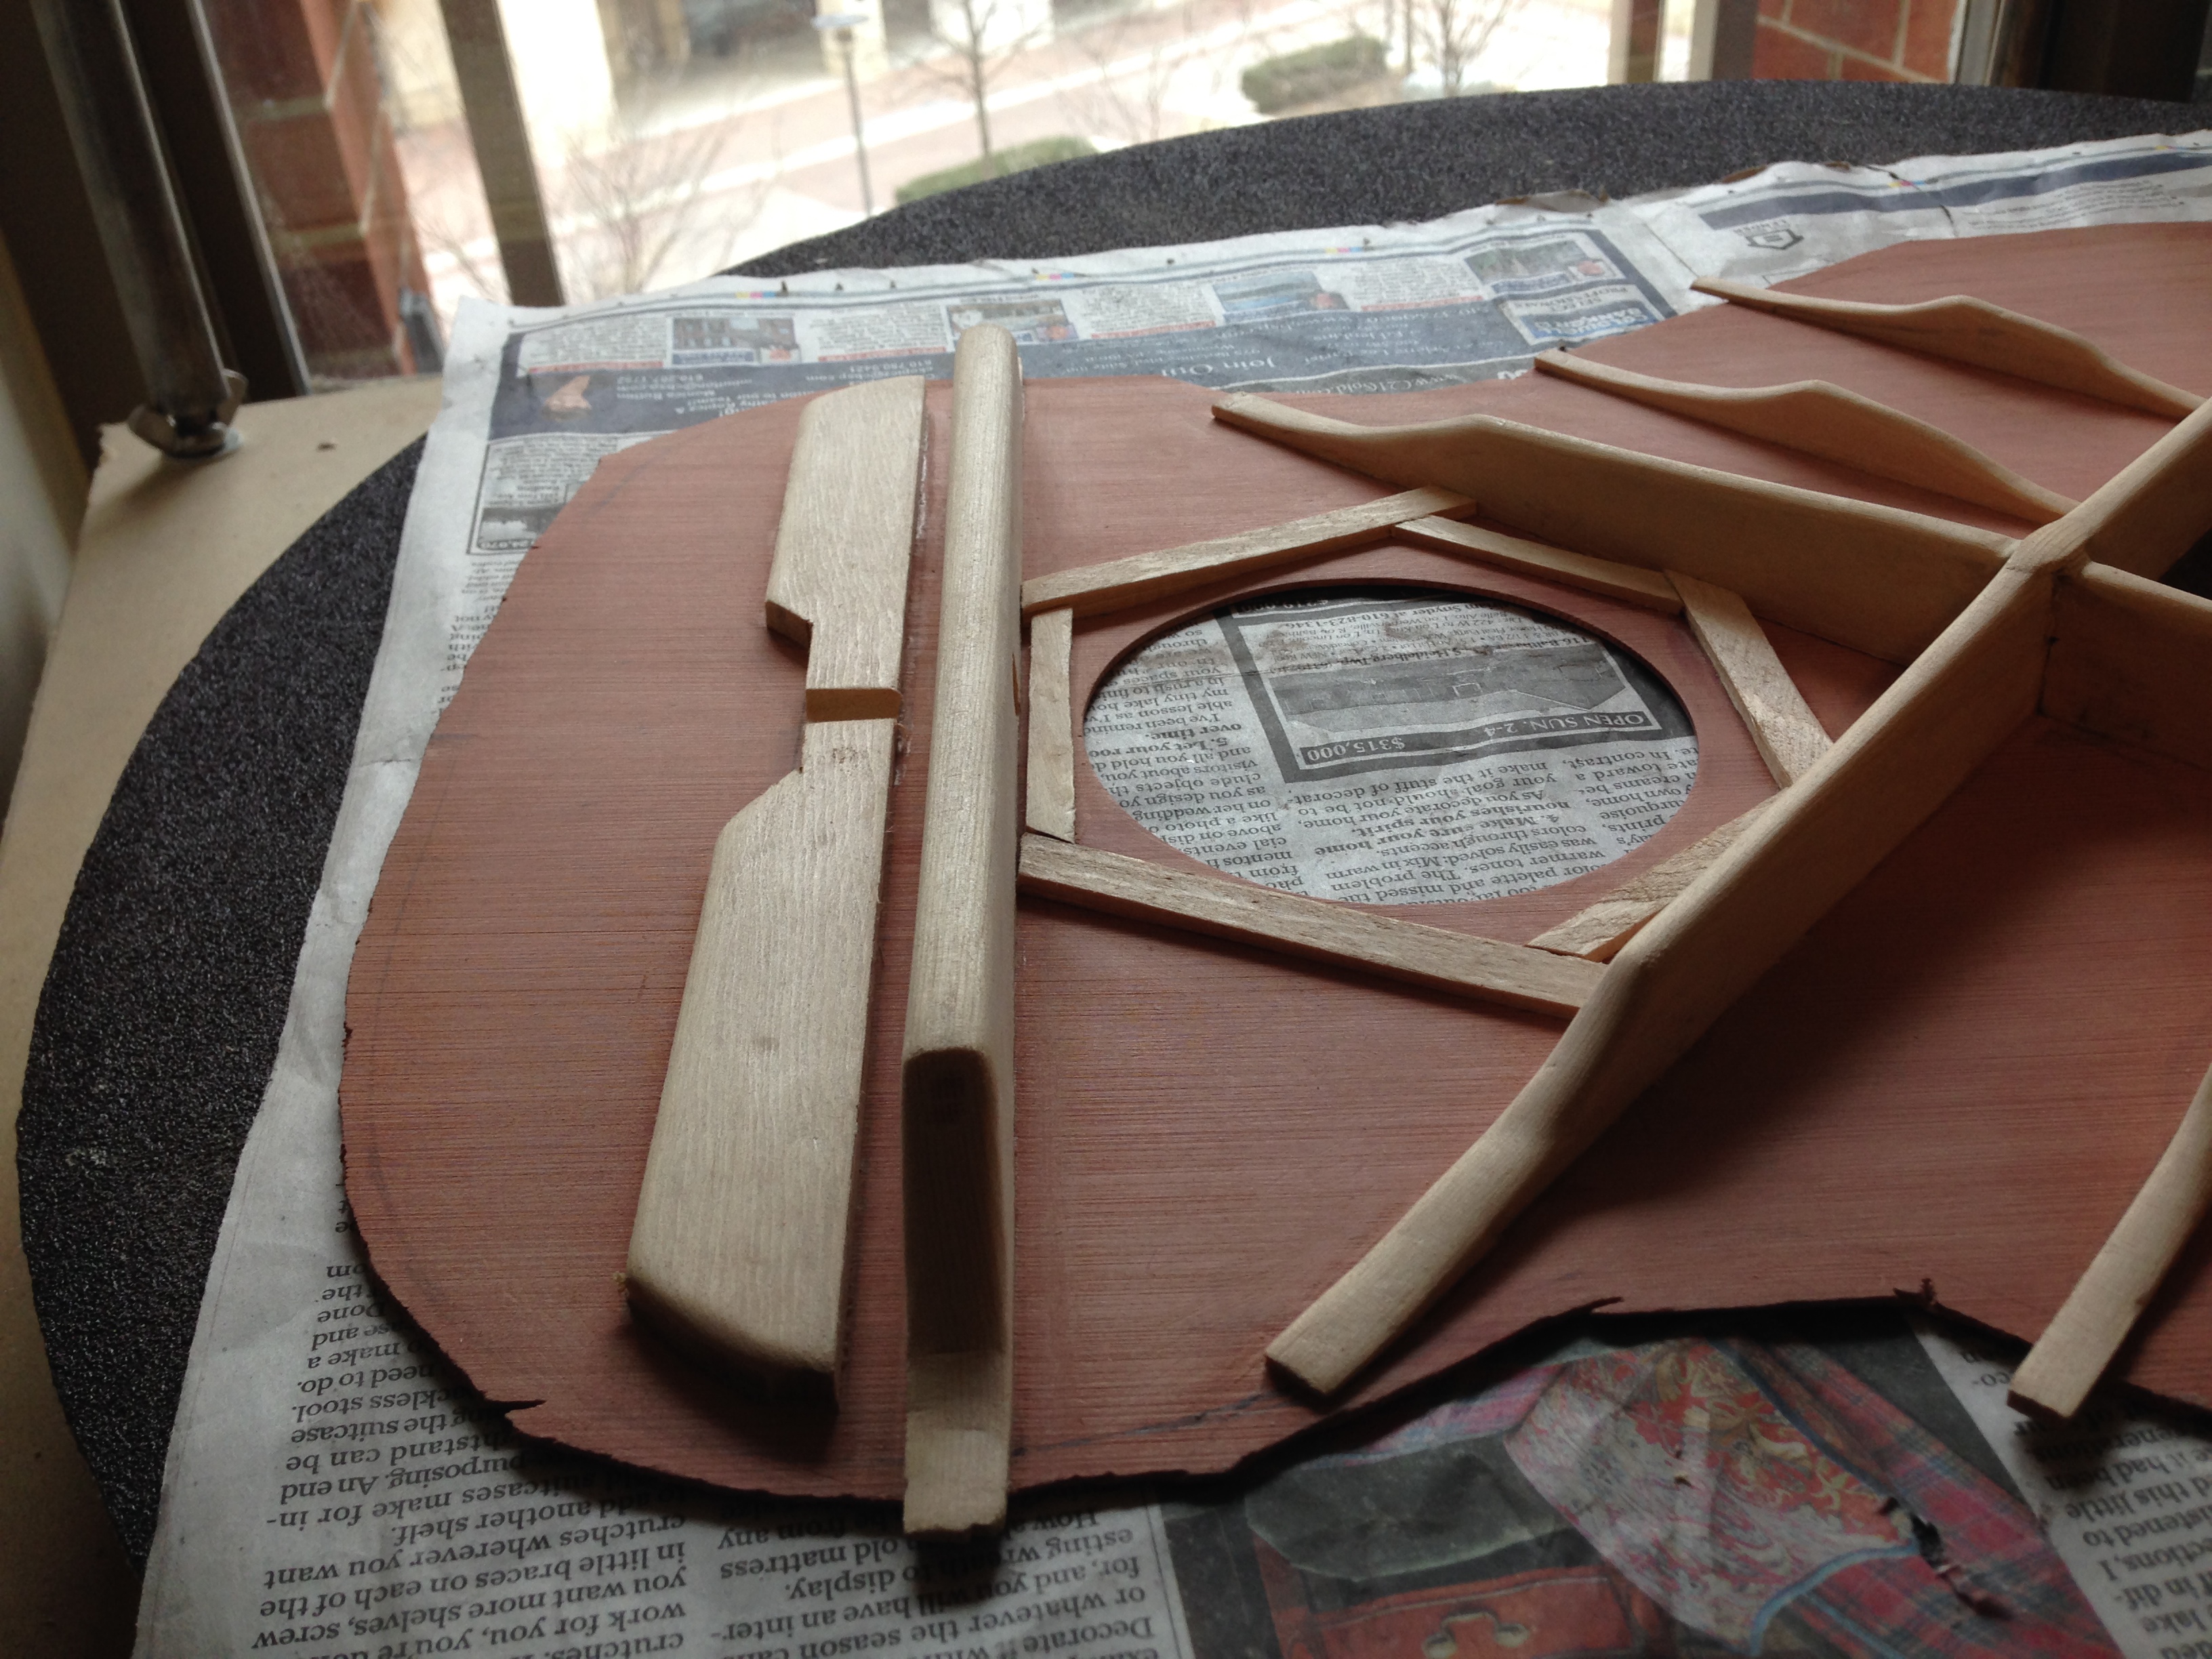
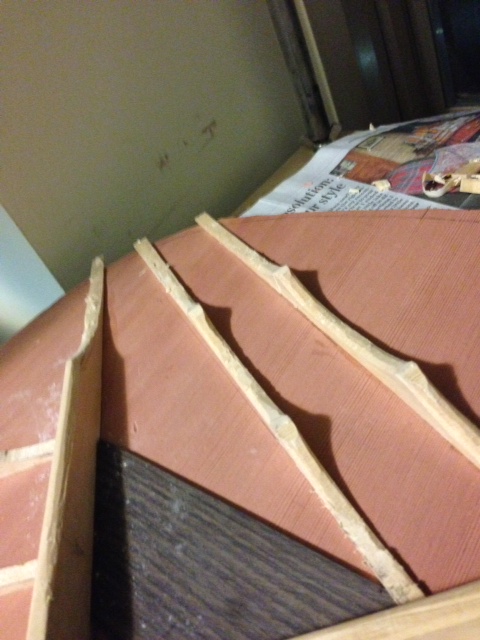
Started measuring and cutting braces.

20140129-235454.jpg

20140129-235513.jpg

Jan 13th – trying to find out places that can help thickness sand my top, back and sides. No one so far.

Jan 14th – pricing drum sanders. Cut braces for top. Still do not have an answer to thickness sand the pieces I need done. Really need a shop and drum sander!!!

Jan 18-20th NYC trip. Went to the Metropolitan Museum of Art and saw the Martin guitar exhibit. Wonderful details of each guitar, especially the inlay on the sides!! Took lots of pictures. They even had guitars from Gibson and others.

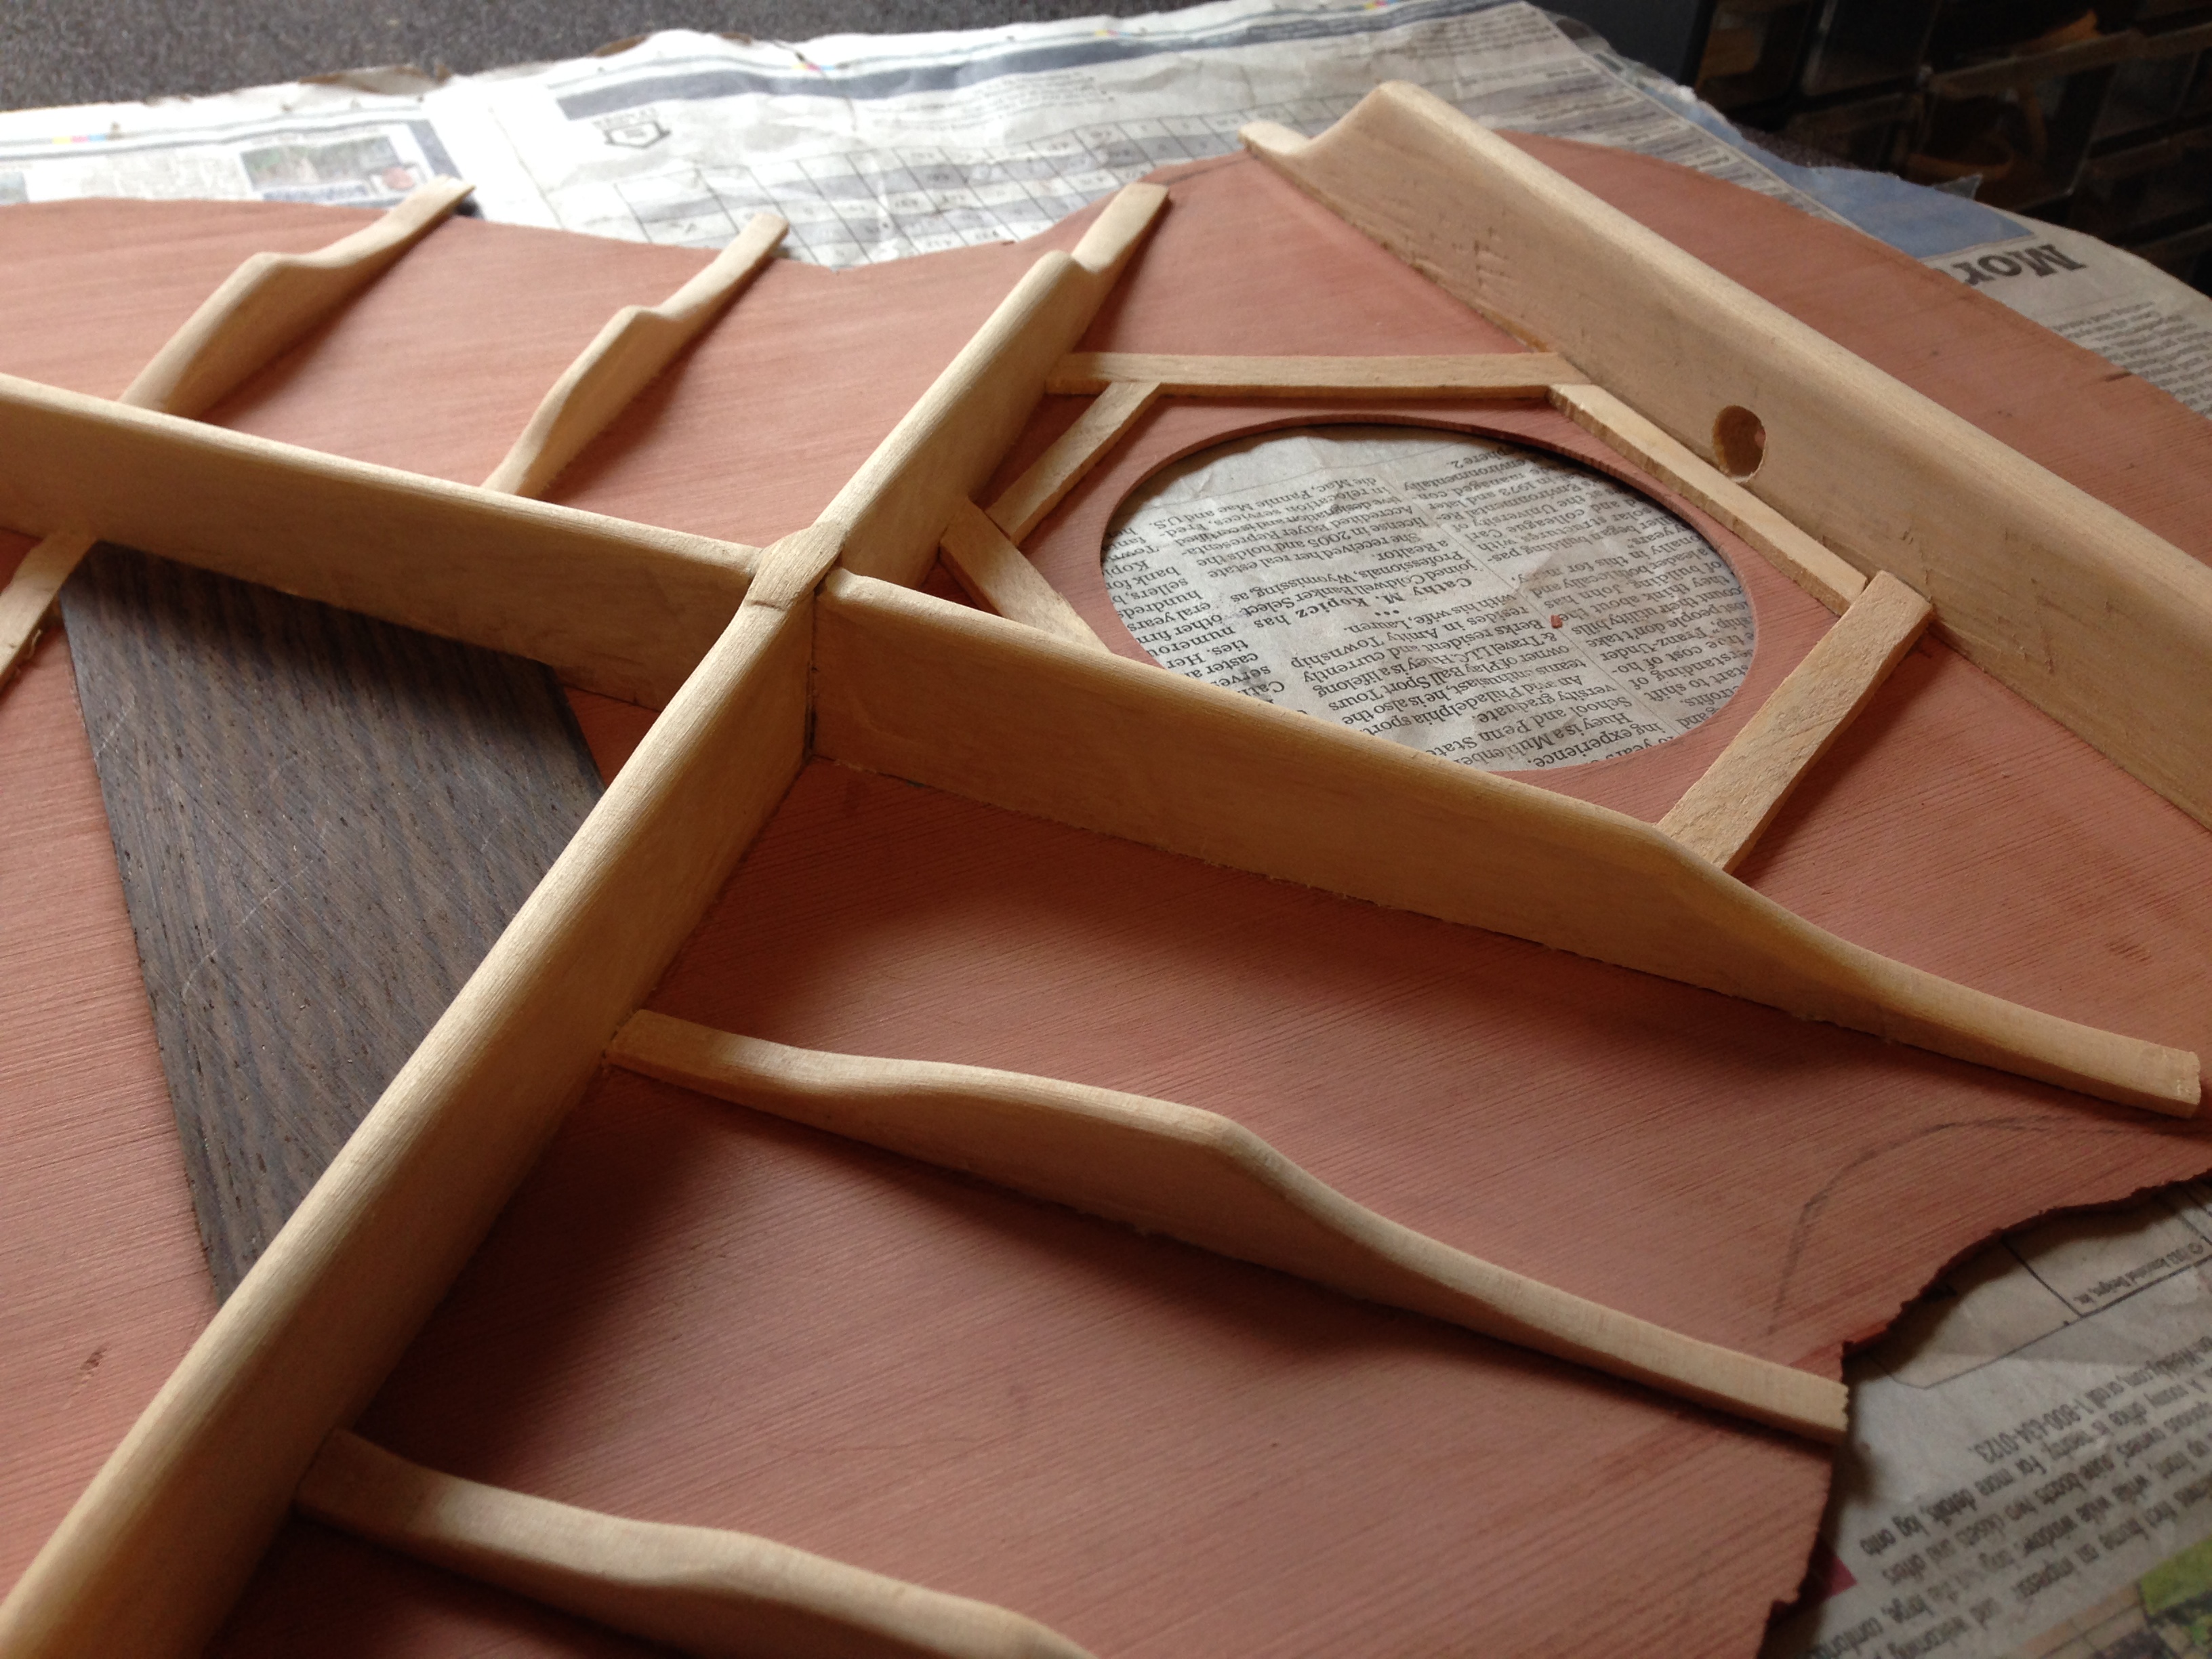
Jan 21st – made some progress since it was a snow day and I had new enthusiasm from New York trip. Radiussed the top braces and started carving the x-braces. Also carved the heel tenon. Received the new fingerboard and heel block. Found out that the original heel block I thought I didn’t receive, I actually did and didn’t know it. Then after checking the fit with the bolts I found out that I needed to double the heel block on the inside to fit the bolt. Need 2 1/8″ total minimum. Glued up the new heel block.

Jan 22nd – cut down glued up heel block. Used plane to even out the ends and size one side. Also routed the. Handel for the truss rod in the heel block. Need to order some carbon fiber stiffeners for the neck. Also need a router table so I can cut straight channels – especially in the neck.

Jan 23rd – finally bought a drum sander and got a dust collector system with it for only $750. Great deal!!! Tested it out and conveyor belt broke, but after I thinned the sides. Maybe thinned them too much, but we will see.

20140129-235713.jpg

20140129-235722.jpg

Jan 26th – went to Woodcraft looking for sander belt. Not at store but in warehouse. Bought it and can pick up on Wednesday. Also bought sand paper rolls for it and dust collector hose and connectors. Picked up a random orbital sander as well.

Sanded the rest of the heel block and bridge reinforcement piece. Made the mold spreader pieces and ordered the turnbuckles for them.

Once spreaders are completed I will attempt to bend the sides.

Jan 28th – received one of the new conveyor belts for the sander. Installed it and spent time trying to tune it in. I believe I have it close. So used it to thickness the top and back. Worked great but to get all of the (mostly) chunks I made in them when planning I think I thinned them too much. Will try to use them anyway.

Cut down all the poles for the go-bars and put the plastic tips on them. Tried to glue-up the x-brace with the go-bar deck and didn’t like the way they looked. Removed the x-brace from top and used the scrapper to try and level out the bottom edges. Will try and glue-up tomorrow night.

Jan 29th – received email from person who is selling new in-the-box band saw for cheap. She said yes to my $800 offer (new $1100+). Trying to make arraignments to pick up on Saturday. Also need to go to woodcraft and get the second conveyor belt that is now in.